|
|
|
#1
 20-03-13, 12:27
|
|||
|
|||
|
Quote:
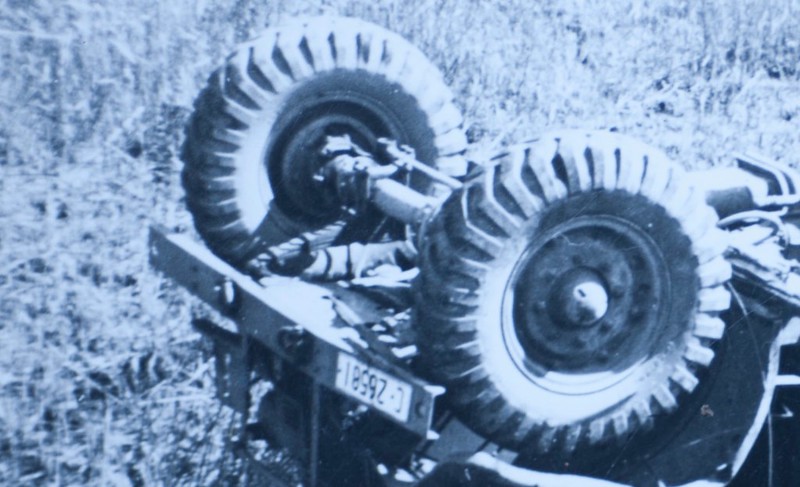
Tony, looks like electrical tape to me. Thanks for coming to Corowa. regards Rick.
__________________
1916 Albion A10 1942 White Scoutcar 1940 Chev Staff Car 1940 F30S Cab11 1940 Chev WA LRDG "Te Hai" 1941 F60L Cab12 1943 Ford Lynx 1942 Bren Gun Carrier VR no.2250 Humber FV1601A Saracen Mk1(?) 25pdr. 1940 Weir No.266 25pdr. Australian Short No.185 (?) KVE Member. 
|
|
#2
20-03-13, 12:44
|
||||
|
||||
|
Quote:
I'm not as good at doing dodgey work as I thought...
__________________
Pax Vobiscum.......may you eat three meals a day & have regular bowel movements.
|
|
#3
20-03-13, 17:05
|
|||
|
|||
|
Excellent work Tony!
Alex
__________________
Chevrolet C8 cab 11 FFW BSA Folding Bicycle
|
|
#4
21-03-13, 05:10
|
|||
|
|||
|
First of all our Chev trucks have a inner skin on the doors that hides many sore spots.
Mac does have the exact door handle with the long grooves....also has very close to original inner handles. I used the Vee shape dovetails from Mac as mine where badly worn off. The repro do look the part even if the blocks are black plastic. Hinges are always a problem...... the overall cab integrity is questionable at best...... the whole door alignment can be ruined by stertching the back of the cab front or back. Later modification were added on the cab 12 by having a 1/2 inch steel plate bolted under the floor plate corner of the cab... also stop straps added to keep the door from hitting the cargo box. There are many parade ground pictures of cab 11 in Canada with the driver's door fully open back against the fuel tank/cargo box...... although not visible I would not be surprised to learned they were actually tied back for easy in and out. Now the lock stricker.... most of the ones I have have been extended by welding or even worst brazing...... mine will need to be resurfaced - rebuilt but I am waiting to see how much is needed. Simialrly I have hinges staht are bent everywhich way...... that will all be the custom adjustment that will be needed to match the oddity of my cab...... it is almost as if each door set is custom made to fit one particular truck. To date I have not been able to source replacement hinges for the cab 11/12 except for some very similar Model T solid brass for $300 + US bucks.... H**l I did not pay that much for the whole truck. On the cab alignment......I have sinned and added the cab 12 floor plates reinforcements as they just bolt right up and will add some metal strips reinforcements to the wooden roof structure for greater rigidity ...... and make sure the tube/pipe of the windshield is properly mig welded with internal L brackets for rigidity. Then drive it on a rough road and shake it all loose hihihi..... ...and if the doors do not fit properly I will drive it with the doors partly opne using the big original shed door hook and eyelet devices.... now we finally know what they were for....all tis time I thougfh they were for ventilation... Bob ........... very nice job by the way....
__________________
Bob Carriere....B.T.B C15a Cab 11 Hammond, Ontario Canada
|
|
#5
24-03-13, 03:58
|
||||
|
||||
|
Love to know the part number for those door handles Bob.. when you have time
Cleaning up minor details now. Finally found a bit of 'bling'. A badge like this will definitley make the beast go better.. Old rifle butt holder AND screws extricated intact!! Original back of ign switch that sits above the steering wheel. Assortment of other bits. Interesting to see two types of engine cover clamps. I thought the single type may have been fitted post war as a make do. But I have now seen 3 Cab 12's with identical arrangements. I'll take that as reasonably supportive evidence of the original layout.
__________________
Pax Vobiscum.......may you eat three meals a day & have regular bowel movements.
|
|
#6
24-03-13, 04:28
|
||||
|
||||
|
Looked up parts book to find the exact name for the 'metal thing' that the crank rod goes through.
Parts book identifies it as the Radiator Shell Lower Apron Assembly. How the blazes does it attach to the truck down the bottom? (Three holes, last photo) Has anyone got any pictures?
__________________
Pax Vobiscum.......may you eat three meals a day & have regular bowel movements. Last edited by Ganmain Tony; 24-03-13 at 09:59.
|
|
#7
31-03-13, 04:10
|
|||
|
|||
|
Outside handle from Mac
E36 Standard straight handle, Chrome 68-702350-A was $23.00 Gasket for above Molded rubber with bead around edge B-7022428-B @$1.00 inside door handle.... fits on the square handle shaft 32-56 panel delivery - chrome A702400C @ $8.50 Once sandblasted they will hold paint very well. Cheers Bob
__________________
Bob Carriere....B.T.B C15a Cab 11 Hammond, Ontario Canada
|
|
#8
31-03-13, 04:52
|
||||
|
||||
|
Quote:
__________________
Film maker 42 FGT No8 (Aust) remains 42 FGT No9 (Aust) 42 F15 Keith Webb Macleod, Victoria Australia Also Canadian Military Pattern Vehicles group on Facebook https://www.facebook.com/groups/canadianmilitarypattern
|
|
#9
01-04-13, 09:23
|
||||
|
||||
|
Quote:
__________________
One of the original Australian CMP hunters. Last edited by Tony Wheeler; 01-04-13 at 09:31.
|
 |
| Thread Tools | |
| Display Modes | |
|
|


 Hybrid Mode
