|
|
|
#1
 03-01-12, 15:48
|
||||
|
||||
|
well another day in the garage passes (as its soon time to get the kids) i have managed to rebuild the linkage, and i am glad i did ! what a mess it was inside. stripping it down was a pig, but then again anything on a carrier is a pest when it has not been serviced since 1945 !
firstly i broke apart everything i could without damaging it, when you pull the rod out the cylinder loads of balls drop out this is because there is a bearing inside... after collecting all the balls i noticed the cylinder had an end cap which was seized / rusted on so i plonked the cylinder into a tub of Hydrofluoric acid and went to work on the other stuff 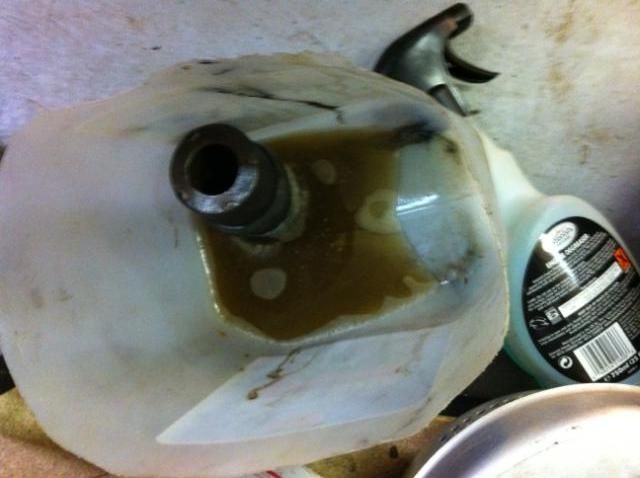 the rod was the easy bit just some elbow grease and a wire brush was needed...followed up by some five knuckle shuffle over it with 800grit the rod is pitted but will still be usable 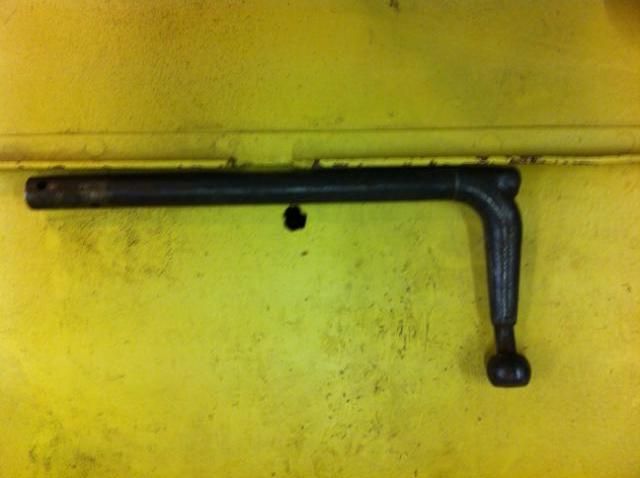 next was the two end cap type bearing blocks.. you can see the lower one is baddly pitted but again still servicable at the moment, this was cleaned down with wirebrush the oil gallery channels in the centres were cleaned out of rust and the whole unit was cleaned and dried then the grease nipple popped back in 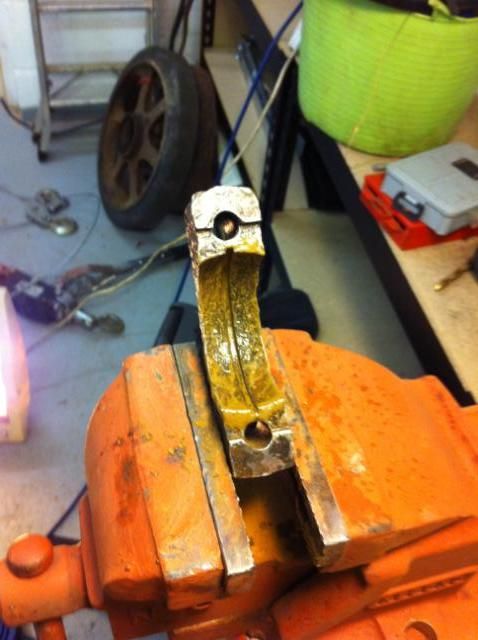  i plodded on with other stuff for a few hours then returned to remove the cylinder from its bath, after being pursuaded a wee bit, it came apart and i could remove the race from inside...both the race and the balls are on their last legs but i should get some use out of them for a while.... the inside of the cylinder was cleaned then the race and balls were popped back in with a smattering of grease, cap put back on and the rod housed back in its place.... then i packed the whole thing full of grease using the grease nipple... the unit is like silk now i am glad i have done it !! i primered it then painted it ready to go back into my hull. 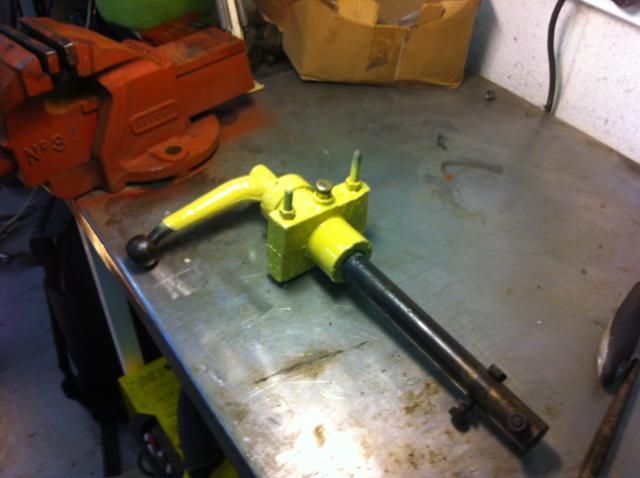 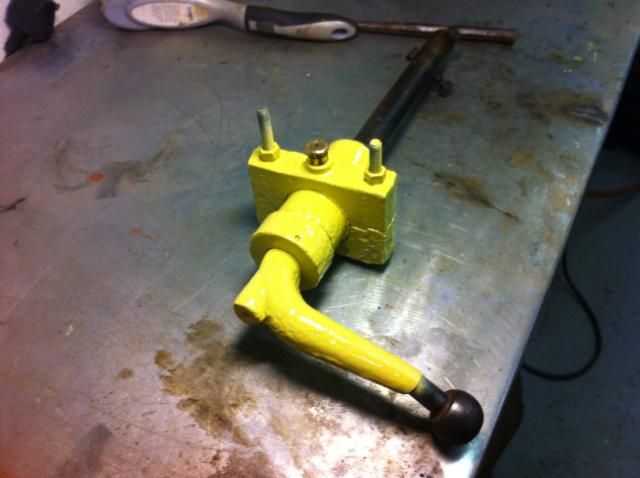 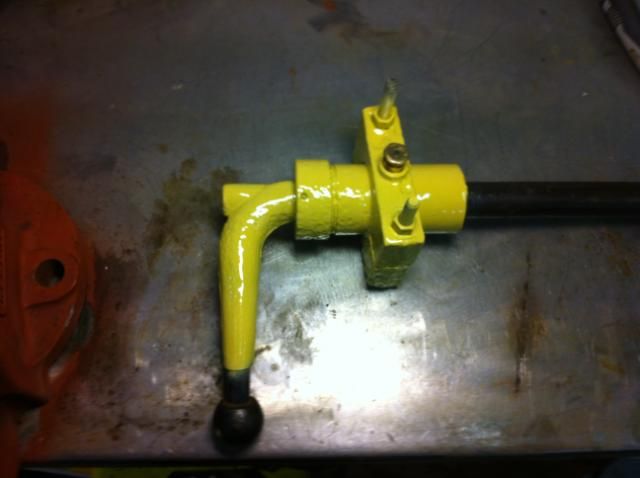 next i continued with my armour, i missed a few holes which needed countersunk 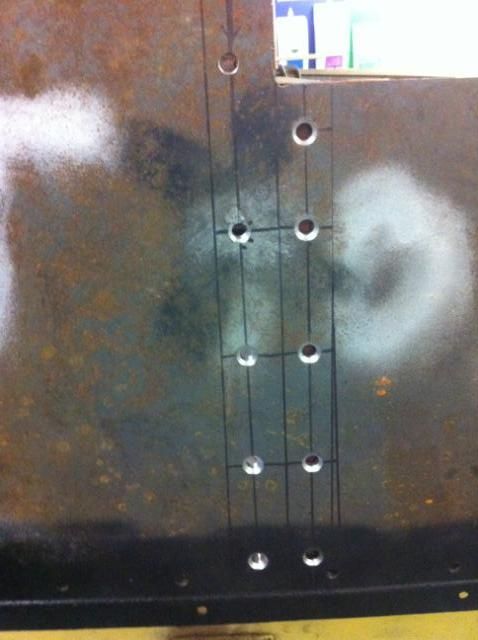
__________________
is mos redintegro __5th Div___46th Div__ 1942 Ford Universal Carrier No.3 MkI* Lower Hull No. 10131 War Department CT54508 (SOLD) 1944 Ford Universal Carrier MkII* (under restoration). 1944 Morris C8 radio body (under restoration). Last edited by RichardT10829; 03-01-12 at 20:14. 
|
|
#2
03-01-12, 15:53
|
||||
|
||||
|
then i moved onto putting the top rails onto the side armour so more drilling required... i had pre drilled the armour from a plan i had from a pal..so offered the rail up to the inside then clamped it down and drilled through
 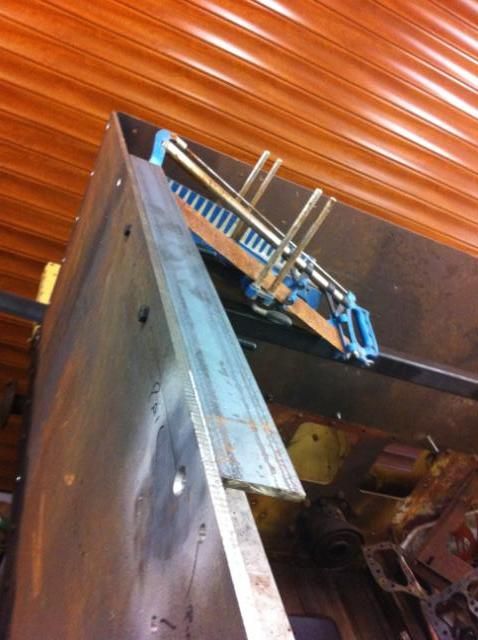 i sat for ages looking at close ups of the rails on Mk1* carriers and noticed they have been moved inside and out over the years....flush with the top of the armour....slightly lower than the top of the armour.... so after an hour of Vol.1 i bit the bullet and went flush...on the inside. whislt there i could not resist popping Bens pintle onto the side 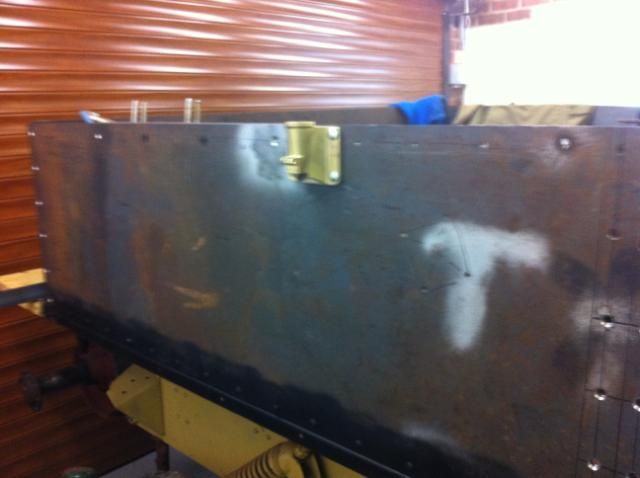 finally to finish the day i welded in the angle bar that runs over the centre bulkhead behind the drivers head....it has been offered up for ages but not welded in.... i still need to drill the holes for it though. 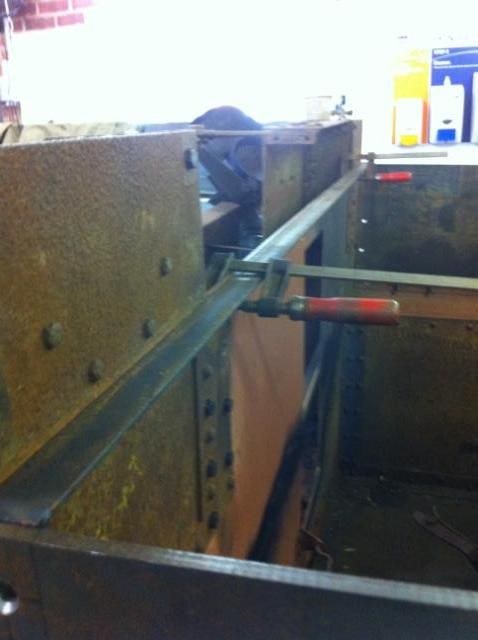
__________________
is mos redintegro __5th Div___46th Div__ 1942 Ford Universal Carrier No.3 MkI* Lower Hull No. 10131 War Department CT54508 (SOLD) 1944 Ford Universal Carrier MkII* (under restoration). 1944 Morris C8 radio body (under restoration).
|
|
#3
03-01-12, 22:20
|
|||
|
|||
|
looking good mate
__________________
_______________________ 1941 mk1 mortar Carrier 1941 Mk1* Carrier 1942 Mk1* Carrier 1943 T16 Carrier 1945 Mk3 Dingo 1941 Mk3 Covenanter 1941 Mk4 Churchill AVRE (now sold) 1944 Mk6 Cromwell (now sold) 1952 Mk3 Centurion 1952 ARV Centurion 1952 ARV Centurion 1953 Mk3 Centurion (breaking)
|
|
#4
04-01-12, 14:19
|
||||
|
||||
|
After 18 months I've almost got the front axle brackets bolted in place, I think it is the same level of achievement NOT
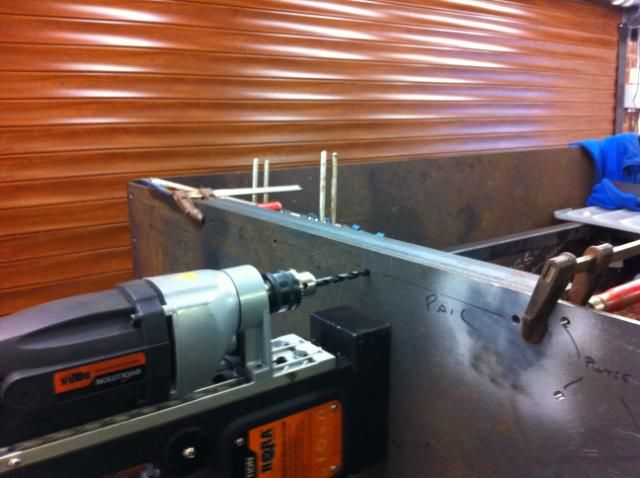
") Yours is looking very smart Richie, what are those mag base drills like to use, how do you make fine adjustments to location?
__________________
Alastair Lincoln, UK. Under Restoration: 1944 No2 MK2 Loyd Carrier - Tracked Towing 1944 Ford WOT6 Lorry The Loyd on Facebook
|
|
#5
04-01-12, 16:20
|
|||
|
|||
|
now thats a nice workshop door ! whats it like working with some space around you mate.
__________________
Shaun Hindle Morris C8 Ford GPW jeep 1945 Morris 1000 (ex mil) SAS LSV Harley Davidson MT 350 motor cycle Universal carrier MK 1*1943 Ronson (under restoration) Universal carrier MK 2* 1944 (Puddle Jumper HSK 345) Ferret MK 1/1 1956 Ferret MK 2/4 1958 CVR(T) Scorpion 432 MK2 Daimler MK1 armoured car 1943 (winner best wheeled armour W&P show 2011) Daimler Dingo MK2 1944 (awaiting restoration, aquired 11/12/2011) Fordson WOT 3 D 1940 (awaiting restoration )
|
|
#6
04-01-12, 17:49
|
||||
|
||||
|
awesome ! i like being able to put my hands onto my tool.....s without scratting about (so many inuendo's its scary)
the mag drill is excelent and a good buy for the would be carrier rebuilder.. it can be cumbersome to hold in situ but what I do is dial the drill bit down so its flush with the work surface then line the drill bit up with the spot and switch on the magnet.. you can do similar with a centre pin facility. the drill comes with standard chuck as pictured and rotabroach style (with oiler) can cut up to 25mm (dia) holes and it goes through the 10mm steel like butter and is ideal for doing the countersinking (as you can centre the drill on the hole then change out the bits) struggles to stick on the thinner steel but all the armour is a sinch to it.
__________________
is mos redintegro __5th Div___46th Div__ 1942 Ford Universal Carrier No.3 MkI* Lower Hull No. 10131 War Department CT54508 (SOLD) 1944 Ford Universal Carrier MkII* (under restoration). 1944 Morris C8 radio body (under restoration).
|
|
#7
04-01-12, 23:18
|
||||
|
||||
|
ok this is for Lynn... I picked up the rivet gun tonight from Bill.... it is a 4x goose neck gun which should be up to the task... i have set rivets with a smaller gun but struggled... this thing although small weighs a fair bit...
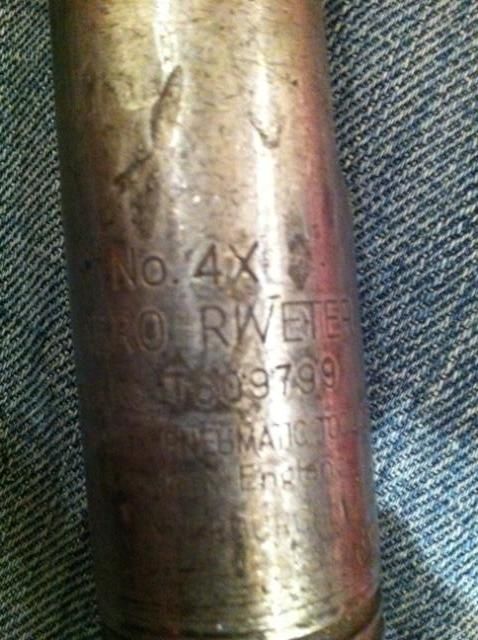 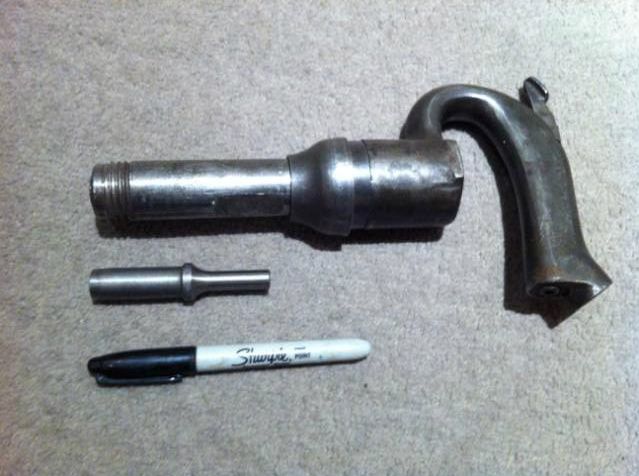 the snaps are readily available... i have worked out that a 5/8 brazier / truss / liverpool head snap is the way to go... based on the theory that the rivet head when formed is just shy of 16mm diameter.
__________________
is mos redintegro __5th Div___46th Div__ 1942 Ford Universal Carrier No.3 MkI* Lower Hull No. 10131 War Department CT54508 (SOLD) 1944 Ford Universal Carrier MkII* (under restoration). 1944 Morris C8 radio body (under restoration).
|
 |
| Thread Tools | |
| Display Modes | |
|
|


 Hybrid Mode
